Showing posts with label piñata. Show all posts

Thursday, June 18, 2015

Cupcake Piñata


I'm getting ready for this years Createfest at the farm and I have been making a lot of sample crafts. One of the week long projects I am having the kids do is make a cupcake piñata. I looked at a bunch of tutorials and found this one most helpful. I changed a few things that I found easier, and I decided to post a tutorial on how to make a cupcake piñata, so here it goes:

suplies-
paper mache mixture (one part flour, two parts water)
duct tape
plastic trash can
plastic bowl (i found a planter holder at the dollar store)
brown paper
colored tissue paper
piñata fillings
thick yarn or jute for hanging (my plant holder already had a holding string attached)
2" strips of news paper
tacky glue
brown paint (optional)


Step 1:
 paper mache the separate parts of the cupcake


the plant holder on the left is what I used for the top of the cup cake, it was super convenient because it had strings already attached that I could use for the hanging of the piñata - and the trash can for the bottom.


I did two layers of paper mache on each part.


Step 2: Fill the bucket/trash can with piñata goodies


I just filled it with candy I had around the house since its just a sample.


Step 3: Attach the cupcake together

I used duct tape to make sure it was super sturdy.
4. Paper Mache the attached cupcake

I did 2 layers of paper mache 
5. Paint the bottom of your cupcake (optional)


I decided to paint mine because I didn't want the newspaper to show when hanging
Step 6: Decorate your cupcake


I fanned brown paper for the cupcake wrapper and just attached it with duct tape.

I used tacky glue to attached tissue paper to look like frosting.

I cut little sprinkles our of tissue paper, and made a red ball to look like a cherry. I attached all this with tack glue.  This is my finished piñata.


I hope you find this tutorial helpful, and wish me luck having the kids make it next week at camp!


xoxo
Becky Jane


Tuesday, May 19, 2015

Ginger Rogers Piñata Tutorial

For my Dad's 60th birthday my family and I went all out. We threw him a surprise Ginger Rogers themed party. I made a piñata of her, and it was quite the process. I decided to make a tutorial of how I made her for you guys to check out!
Supplies:
cardboard/thick paper scraps
cereal boxes
balloons
paper mache mixture (1 part flour, two parts water)
crepe paper
paint
cotton balls
candy/filling
tape (masking and duct)
news paper
2" ruler
mod podge
sciccors
exacto knife (optional)
heavy duty string

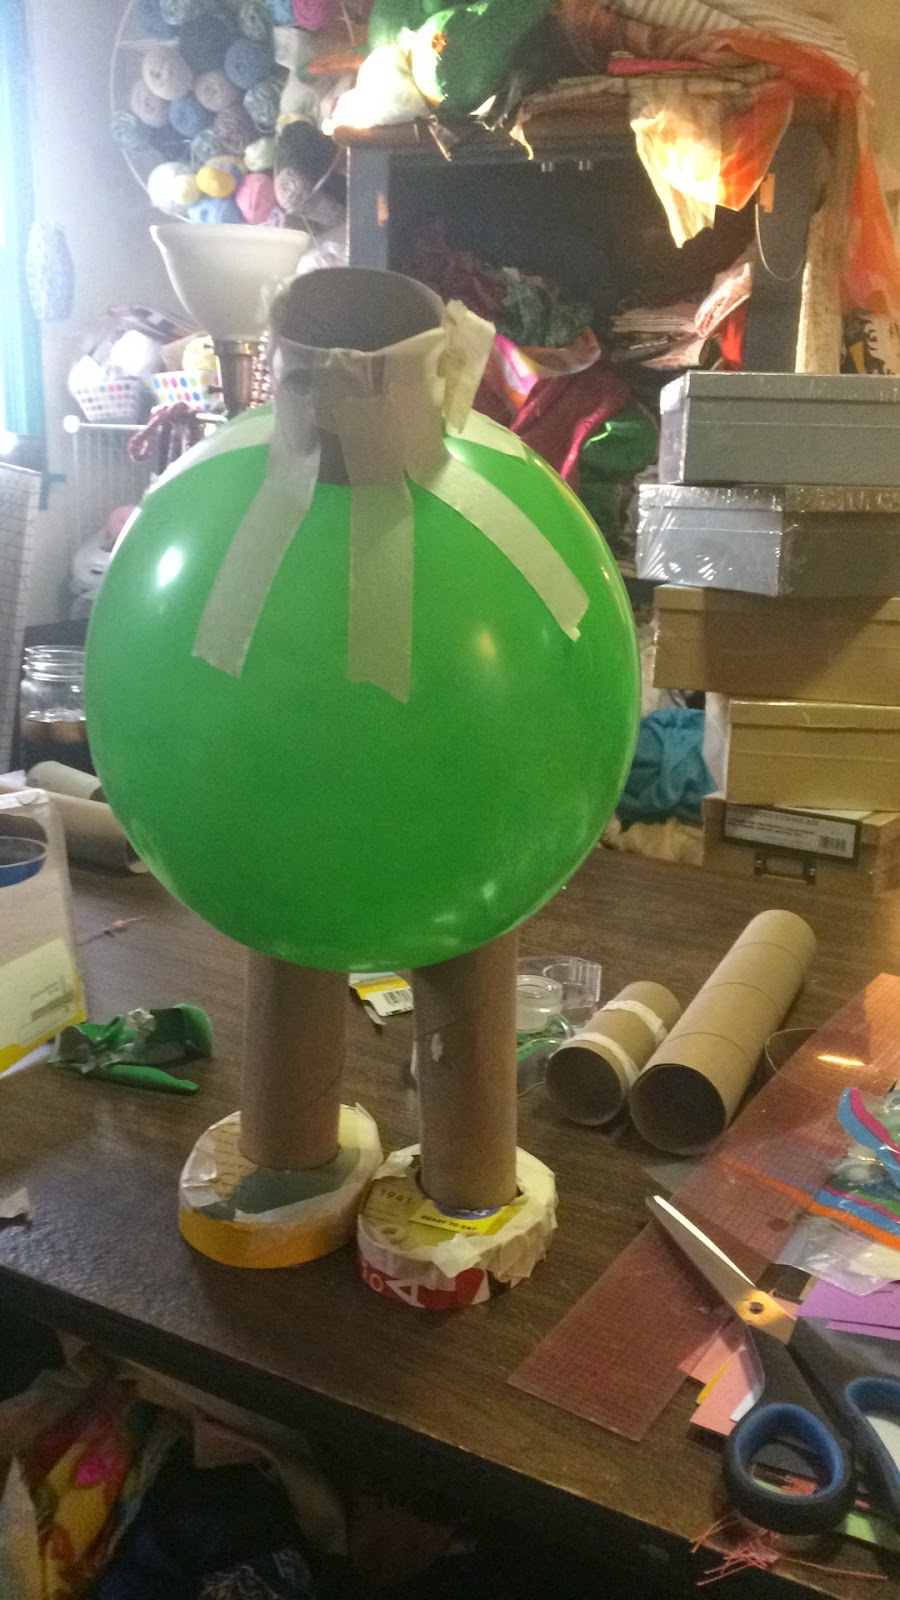
The base of Ginger is made with balloons, toilet paper rolls, and a cereal box for the feet. 
I made holes in a cheerio box to fit the toilet paper roll and then added a base to make it sturdier. 
                                         

I shortened a toilet paper roll for the neck to connect the body to the head. 


Then taped some arms on. 

Then I covered the shape with strips of news paper (I cut mine in two inch strips) dipped in my paper mache mix. 

This is a photo of the newspaper dry.  I did three layers of paper mache. 

I then covered her body with a nude crepe paper and mod podge. 
I decided to give her some boobs to give her more shape and not look so round. I taped cotton balls on, they ended up giving her a Madonna look haha. 

I decided to fill her before I started decorating her too much. So I cut a hole in the body and the head. 

I filled her with some of my dad's favorites, which include Little Debbies :)

I then started working on her dress. I used crepe paper and mod podge.

I taped a folder on to make her dress go out. 

This is a photo from the back while I was working on fringing the skirt of her dress.  I used the opening in the back and poked a hole in her head to attach the string for her to hang on. I reinforced that hole with many layers of duct tape so it would be strong enough to hold her. 

I dyed some cotton balls for her hair. I used a water based paint, but this took forever to dry,  I even had to pull out a hair dryer at one point, so I would recommend a light spray paint, or just buying colored pom-poms. 

I then started working on her face. I also used crepe paper and some paint. 

Side of Gingers head.

All Done!


This is what I was going for haha. She kind of ended up looking more like a muppet!

But my Dad loved her, and that's all that matters.


Piñatas are time consuming but so much fun. I really enjoyed making this one of Ginger Rogers.  I have a few more coming up for my kids camp this summer so stay tuned!

xoxo
Becky Jane